
DIY Retaining Wall – We Supply, You Install
If you are looking for your next DIY project, or need a retaining solution to hold back soiling then look no further than our supply only retaining walls. Our panel and post walls are built to hold against the lateral pressure of soil and our retaining walls are simple enough for a nifty weekend warrior to tackle, though you could still call in for help for all or some parts of the project!
The great thing about a DIY retaining wall is that it’s a fairly straight forward project. If you’ve had experience with marking up and pouring concrete you’ll be right on your way.
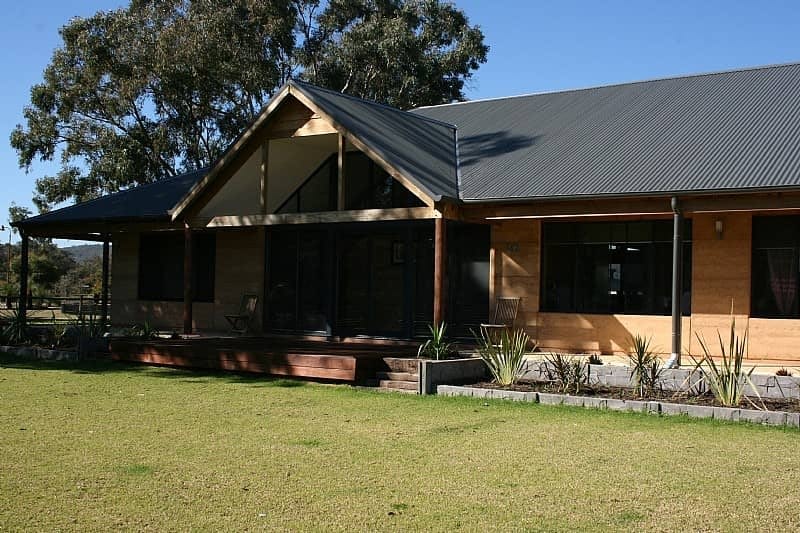
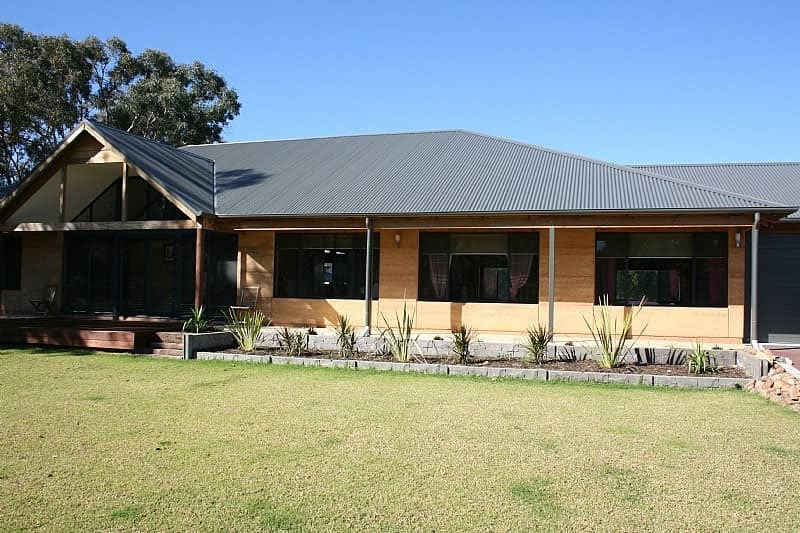
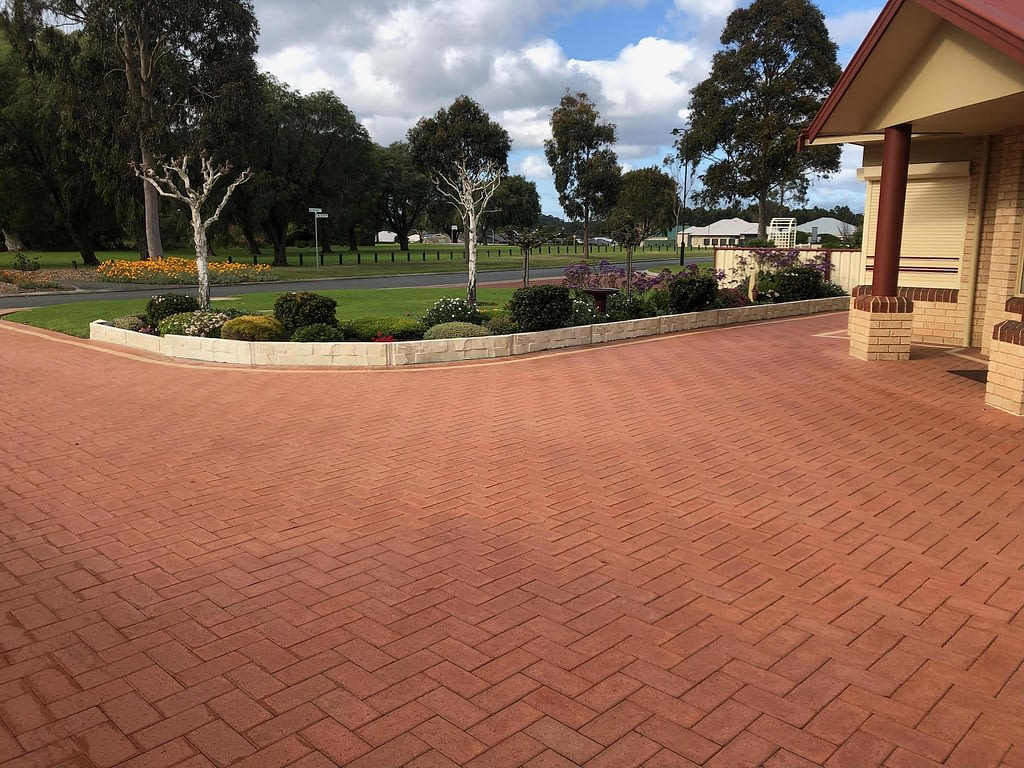
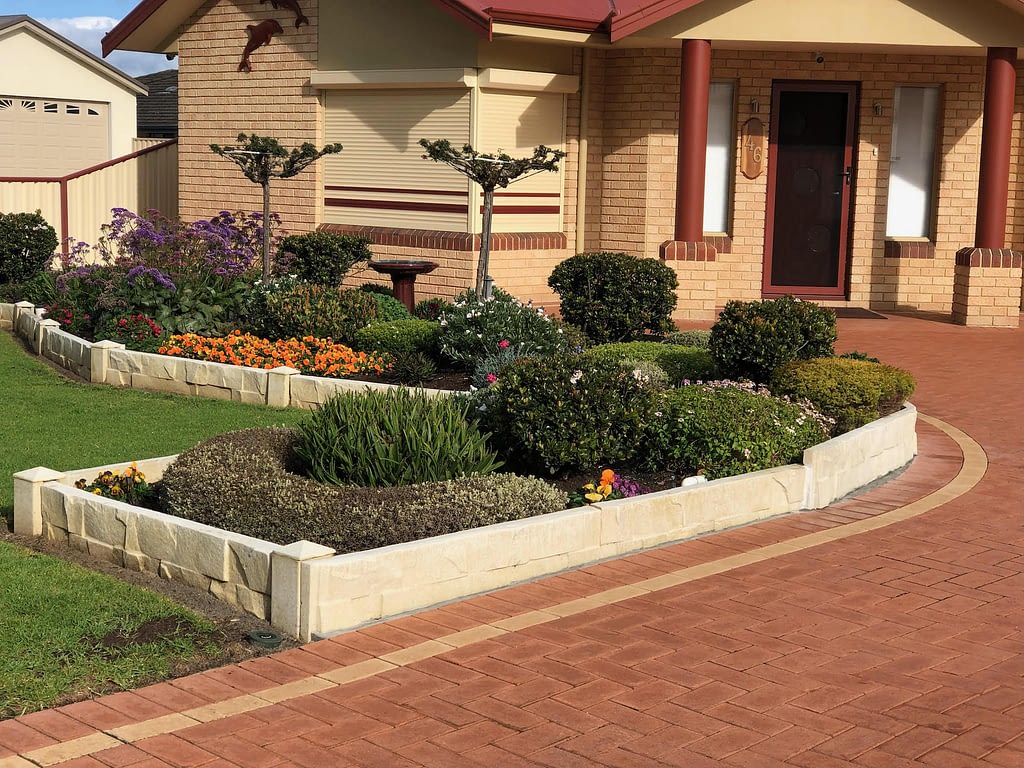
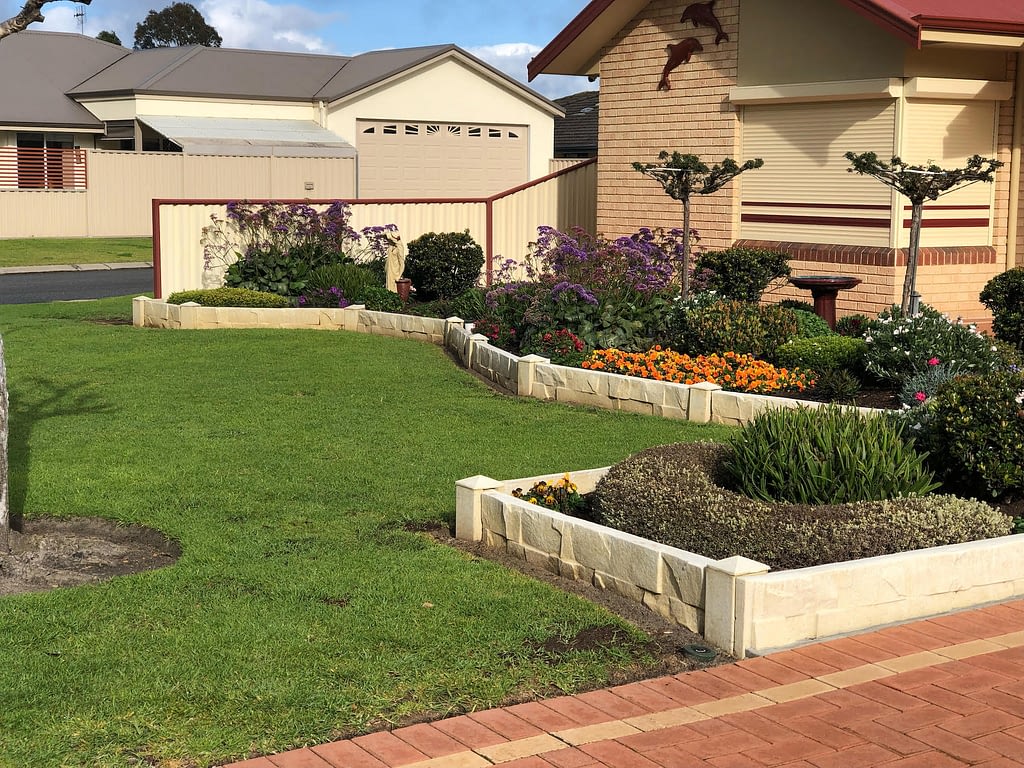
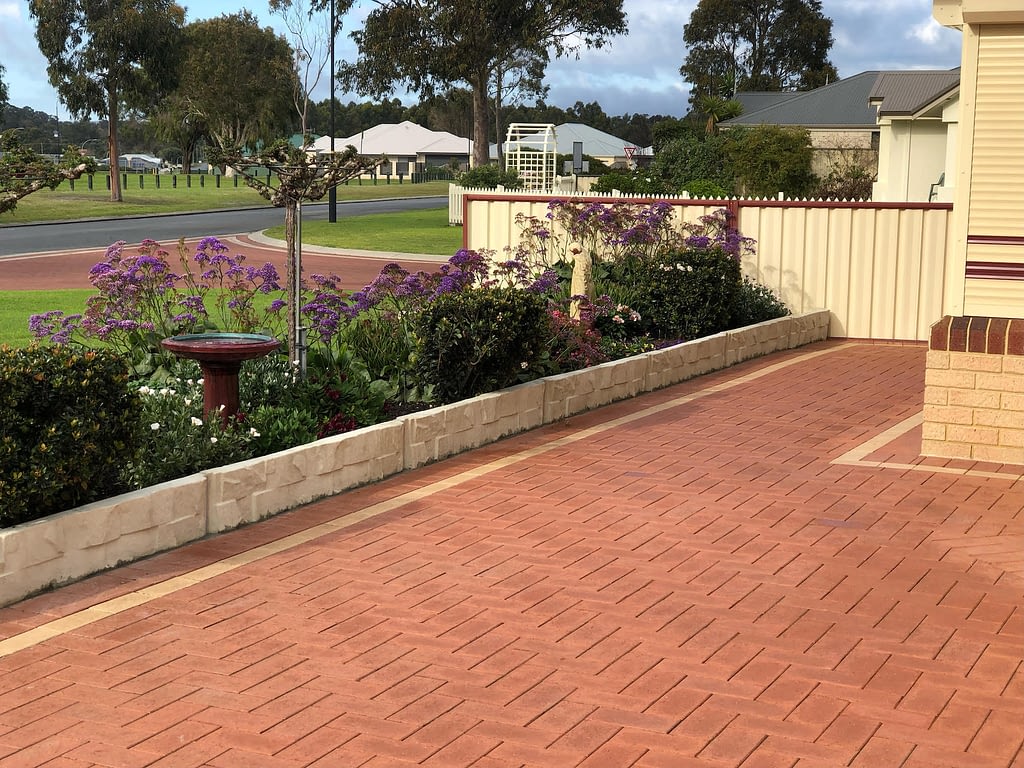
View some of the projects below where our clients have done a fantastic job of installing our DIY retaining wall products themselves. Here at Bradford Retaining, we certainly pride ourselves on both manufacture and installation but we love seeing what clients can achieve with our retaining walls.
If the handyman in you is reading this, then feel free to give us a call and we’ll get started!
Click here to see the latest project completed by one of our happy customers.
Instructions
Installing our retaining walls is as simple as following a kitchen recipe. As long as you have all the necessary ingredients (below) and follow each step in order, you’ll be on your way to a beautiful new retaining wall. *These instructions are designed for a single-length wall*
- Spirit Level
- Tape Measure
- 2 Star pickets
- Reel of String
- Piece of Timber for spacer but it is recommended to use the panel
- Adequate Cement
- Wheelbarrow or Cement Mixer
- Shovel
- Hammer
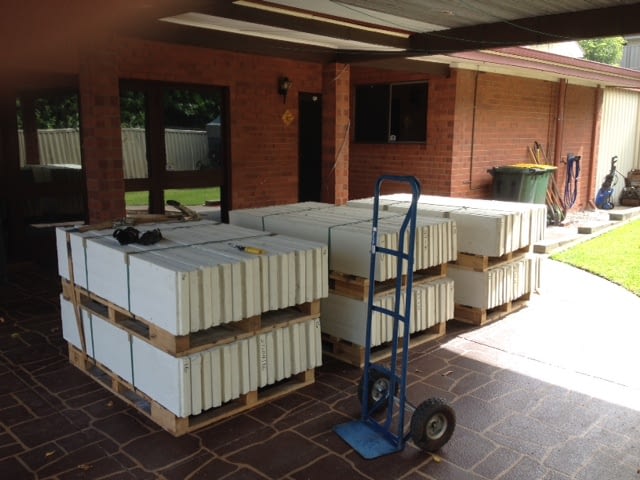
- Bradford Retaining Panels and Posts
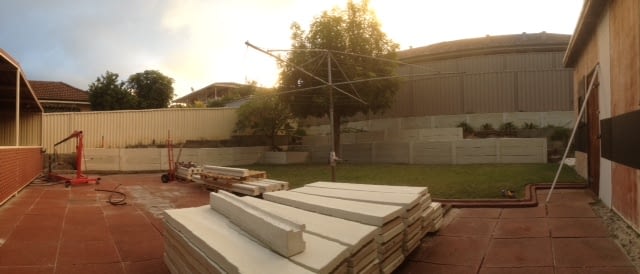
A retaining wall involves some planning and the first step is all about deciding where you want to install the first post – and entire wall. Pick your spot and mark it. Generally the best spot the first post is in a corner or against an existing structure like a fence or building wall.
Grab your reel of string and tie it around one of your star picket or pegs. Hammer the picket or peg into the ground at your marked spot. You can also use your first post instead of the picket. Check what your retaining wall height will be and measure the height from the ground to your string. Now measure the length of your wall from your first picket and mark a second spot. Here you will take your second picket and tie the other end of string around it at the same height as the first peg – as long as it’s the same height, you’ll have a nice straight wall. It is recommended to use a laser level for this but you can also go old school and use the spirit level with the stringline.
Right next to the first peg, you can dig a hole to put your first post into OR use the first post in place of your first picket. It’s important when you tie the string around your first post that you identify which side of the 2nd star picket it runs off. Once your first post is set double check and triple check your string line. It is also important that if you are using a corner post to not put any lean on it. It needs to be straight up and down.
When setting your post make sure that it is straight using the spirit level and with the appropriate amount of lean into the area it is retaining. Make sure you get the post to the correct height. It is easier to lift it rather than bang it down so it is recommended not to set it too high.
To ensure your post is properly secured, you must cement in the post.
– Mix 4-parts sand with 1-part cement.
Fill in the entire hole where your post is all the way up to ground level.
*Try not to get any cement on the post as it’s a hassle to clean up later!
Our preferred spacer is using the panel itself although if you wish to use a timber spacer it is important to measure twice and cut once by double checking the length of your panels
Now that all your posts have been installed, it’s time to install the rest of the panels. Slide the panels between the posts and it is best practice to do this on the same day as post installation. Keep them level as they are going in. A good trick is to set them slightly higher and gently dig them down as it is easier to lower them than it is to raise them.
Note: when your wall is installed with backfilling, we recommend using Geofabric, black plastic or sand & cement parging to prevent sand seepage.
If you do get the any excess cement on the walls it is best to clean it off straight away before it dries. After everything is set a handy tip is to get someone to cast their eye down the wall and “eye it off”. It is the ideal time to straighten any posts that may have shifted slightly during the panel up.
Sit back, open a cold one and marvel at your creation!
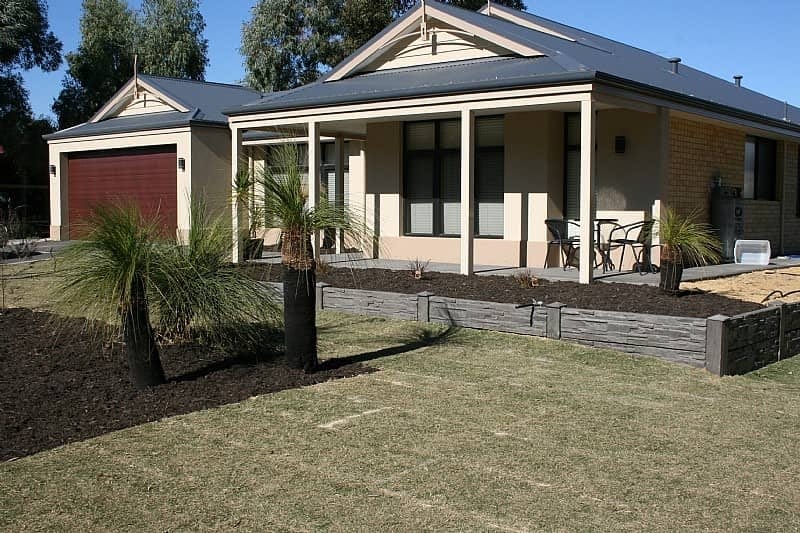
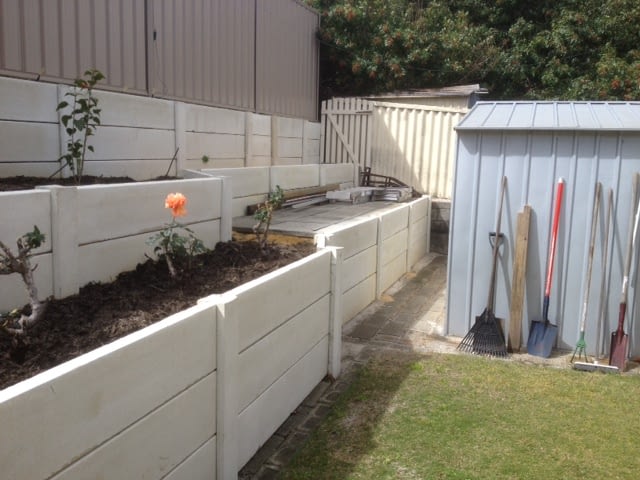
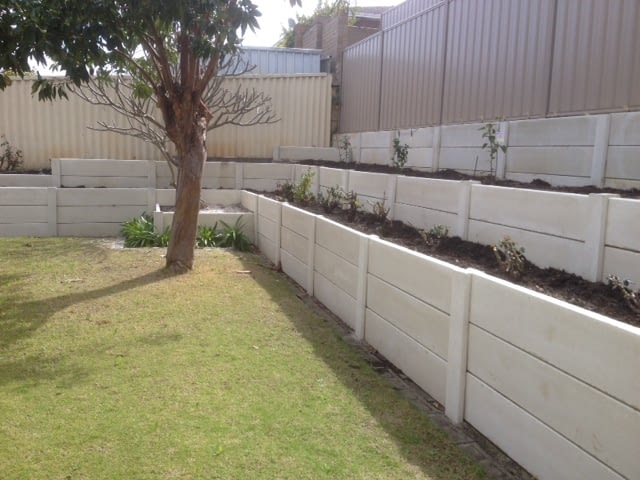
DIY Stonerange Castlestone Charcoal

Description
Our clients created a beautiful backdrop to their garden and pool area doing a great job installing themselves.
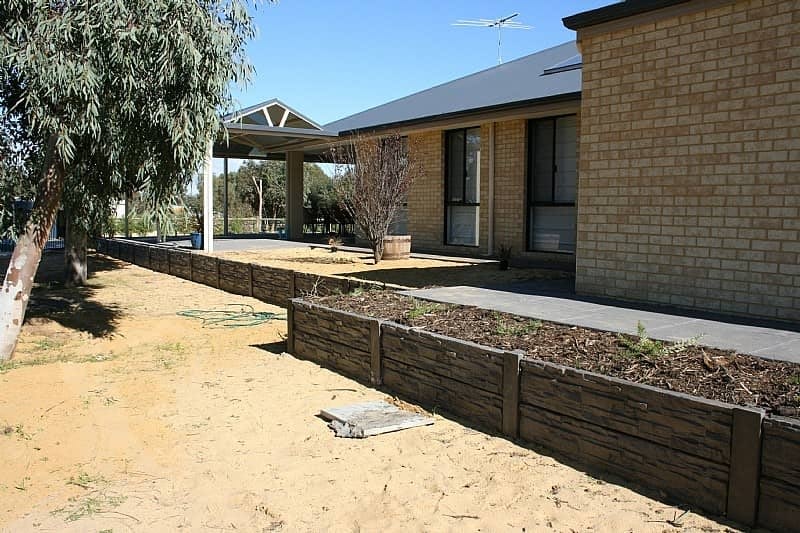
DIY Stonerange Exmouth Charcoal
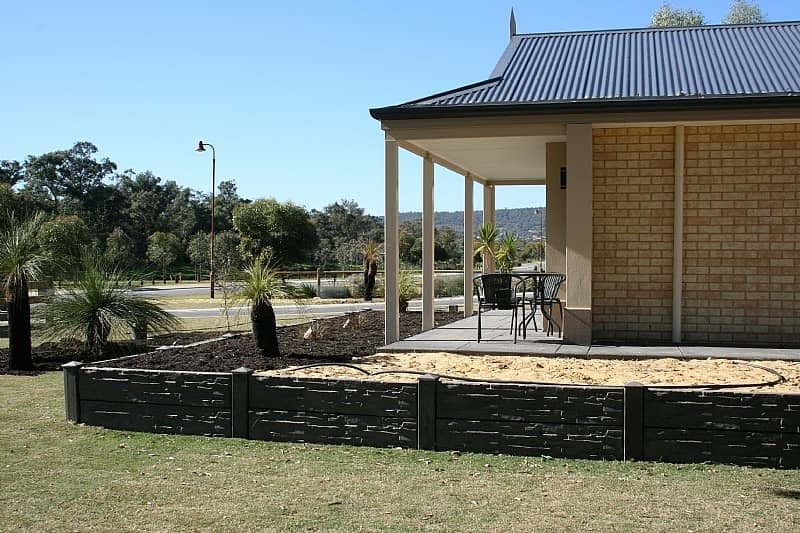
DIY Terraces Smooth Cream
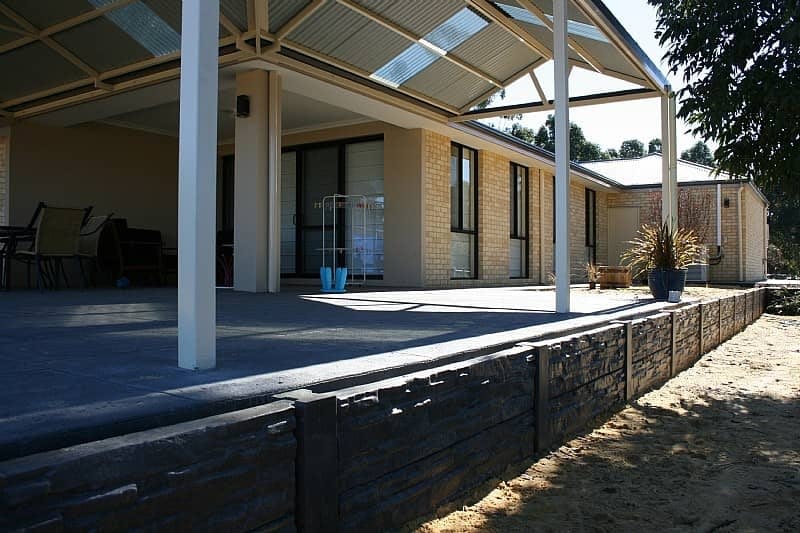
DIY Exmouth Cream
Contact
If you would like to learn more about this product, simply fill out the form and we will be in touch with you as soon as possible
Contact
Looking for a Twinside Retaining Wall Alternative? Be sure to check out our products